The Queen’s Platinum Jubilee Bunting – Celebrating 70 years

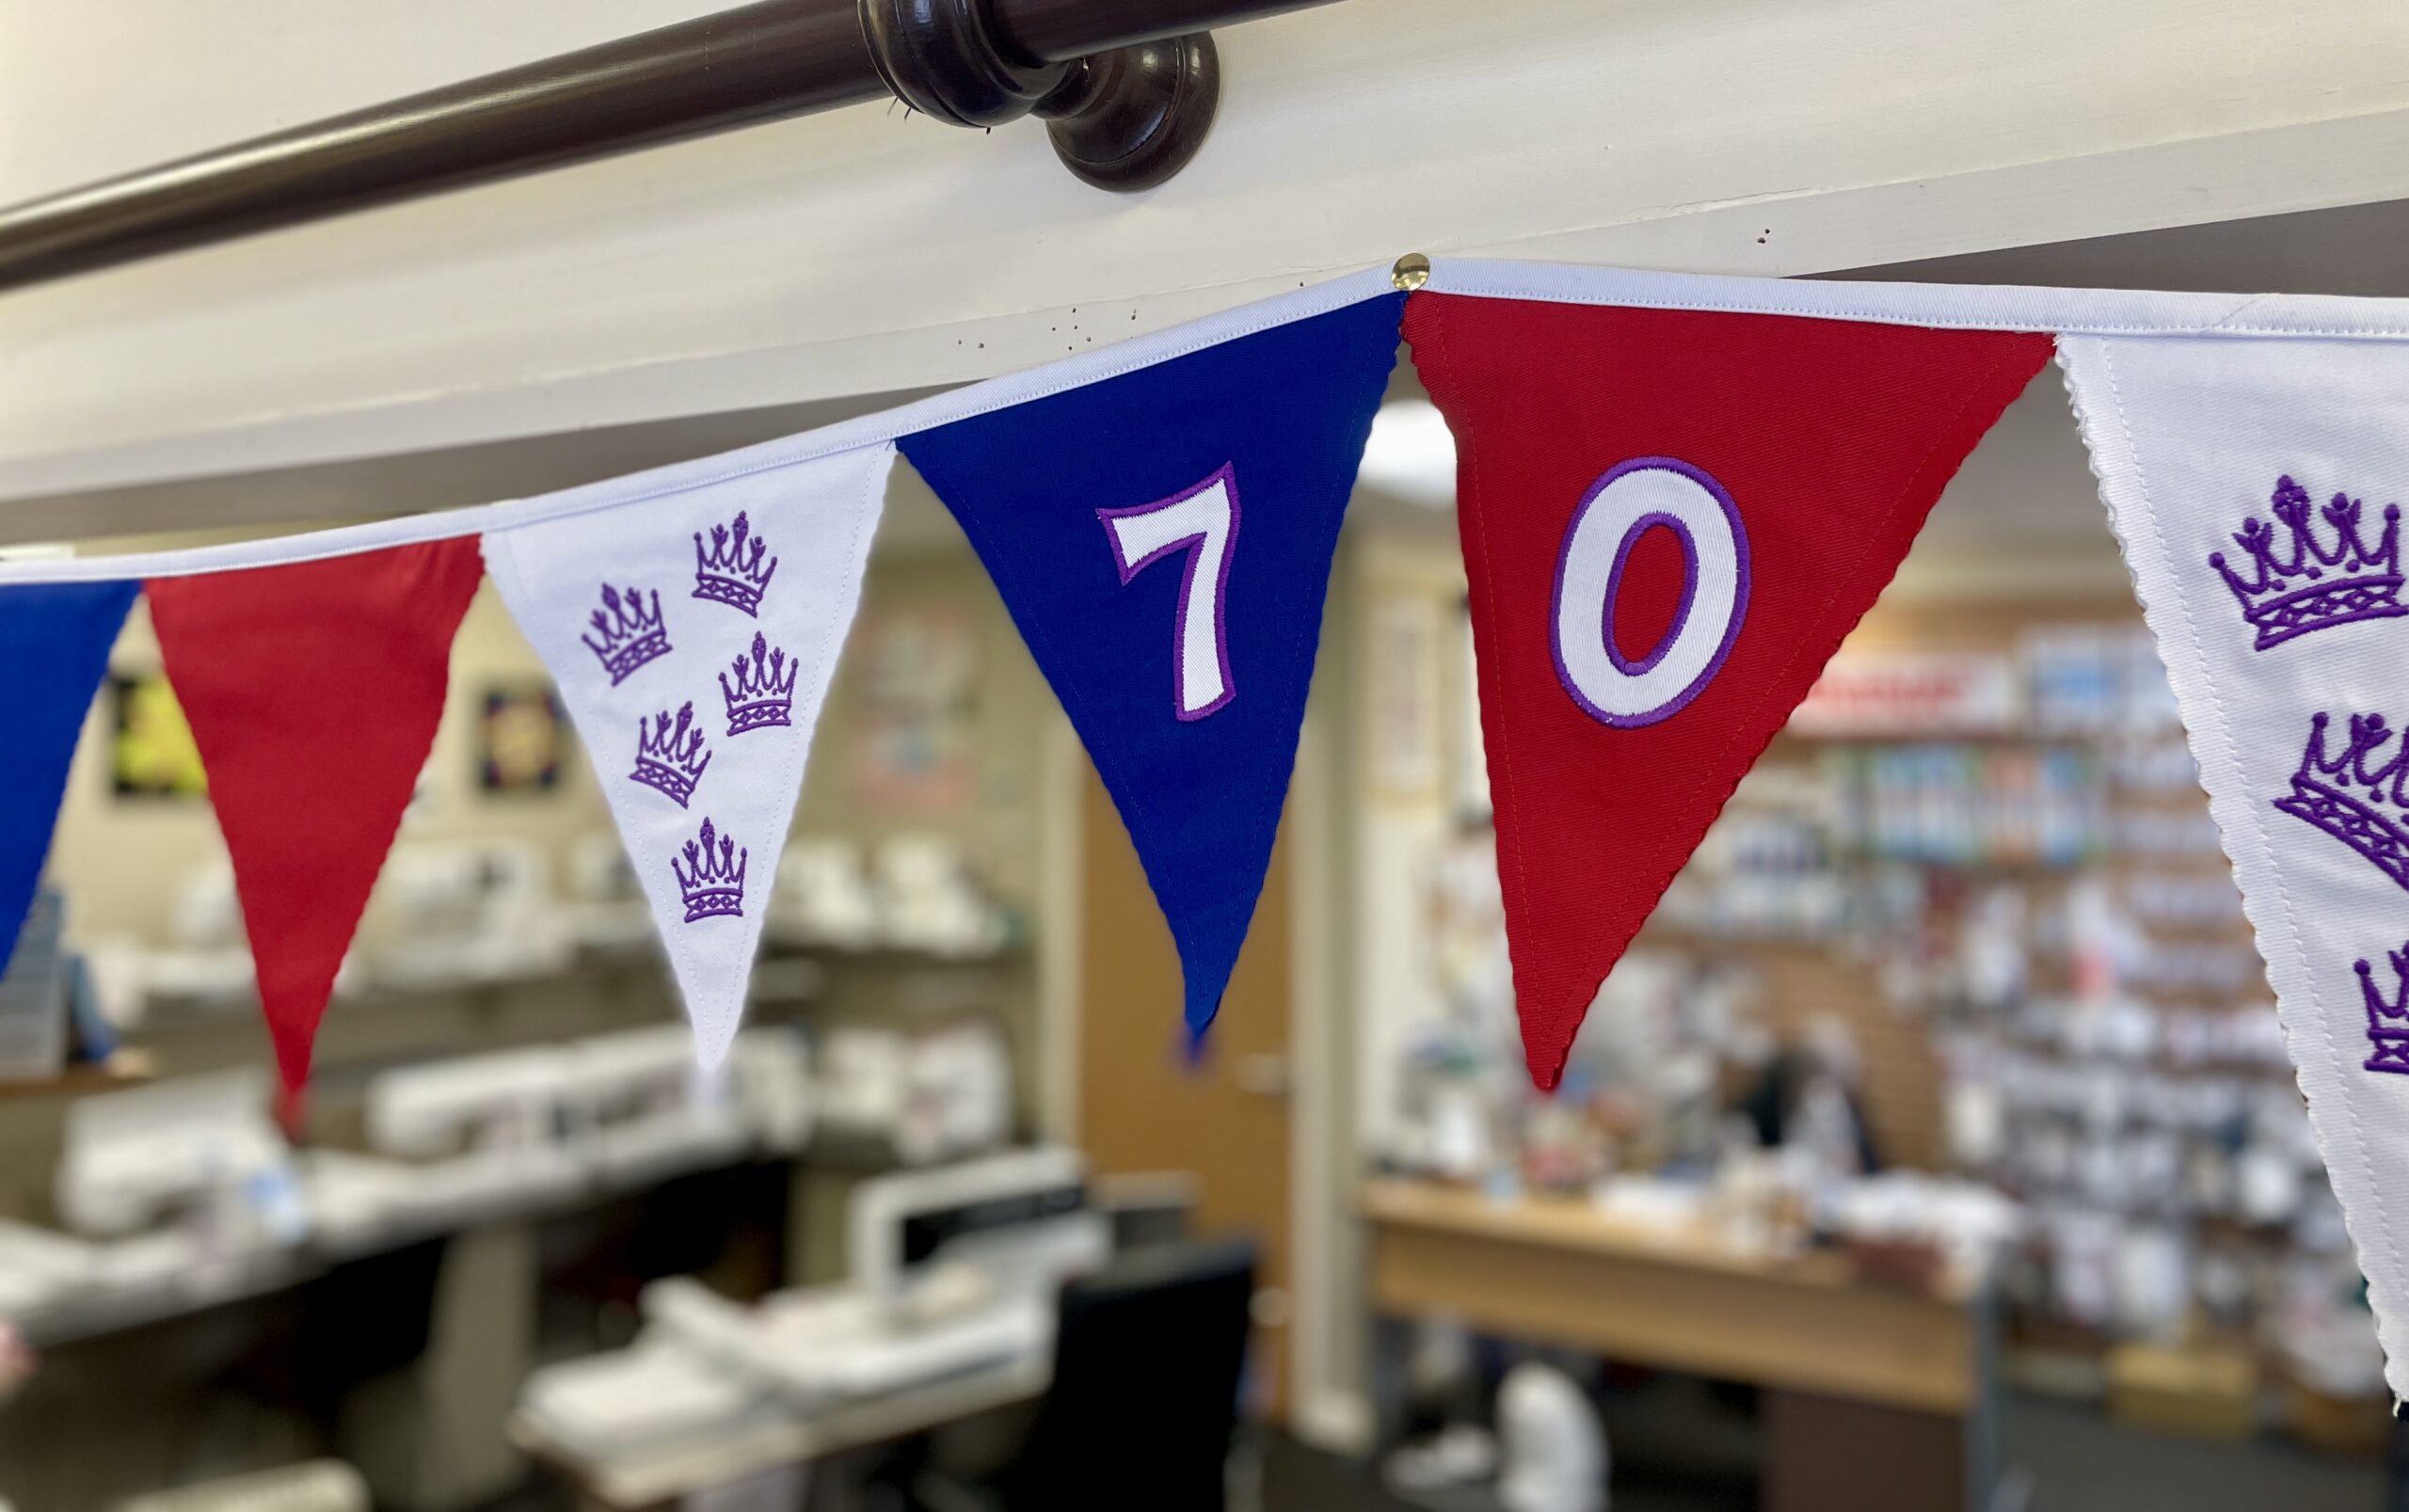
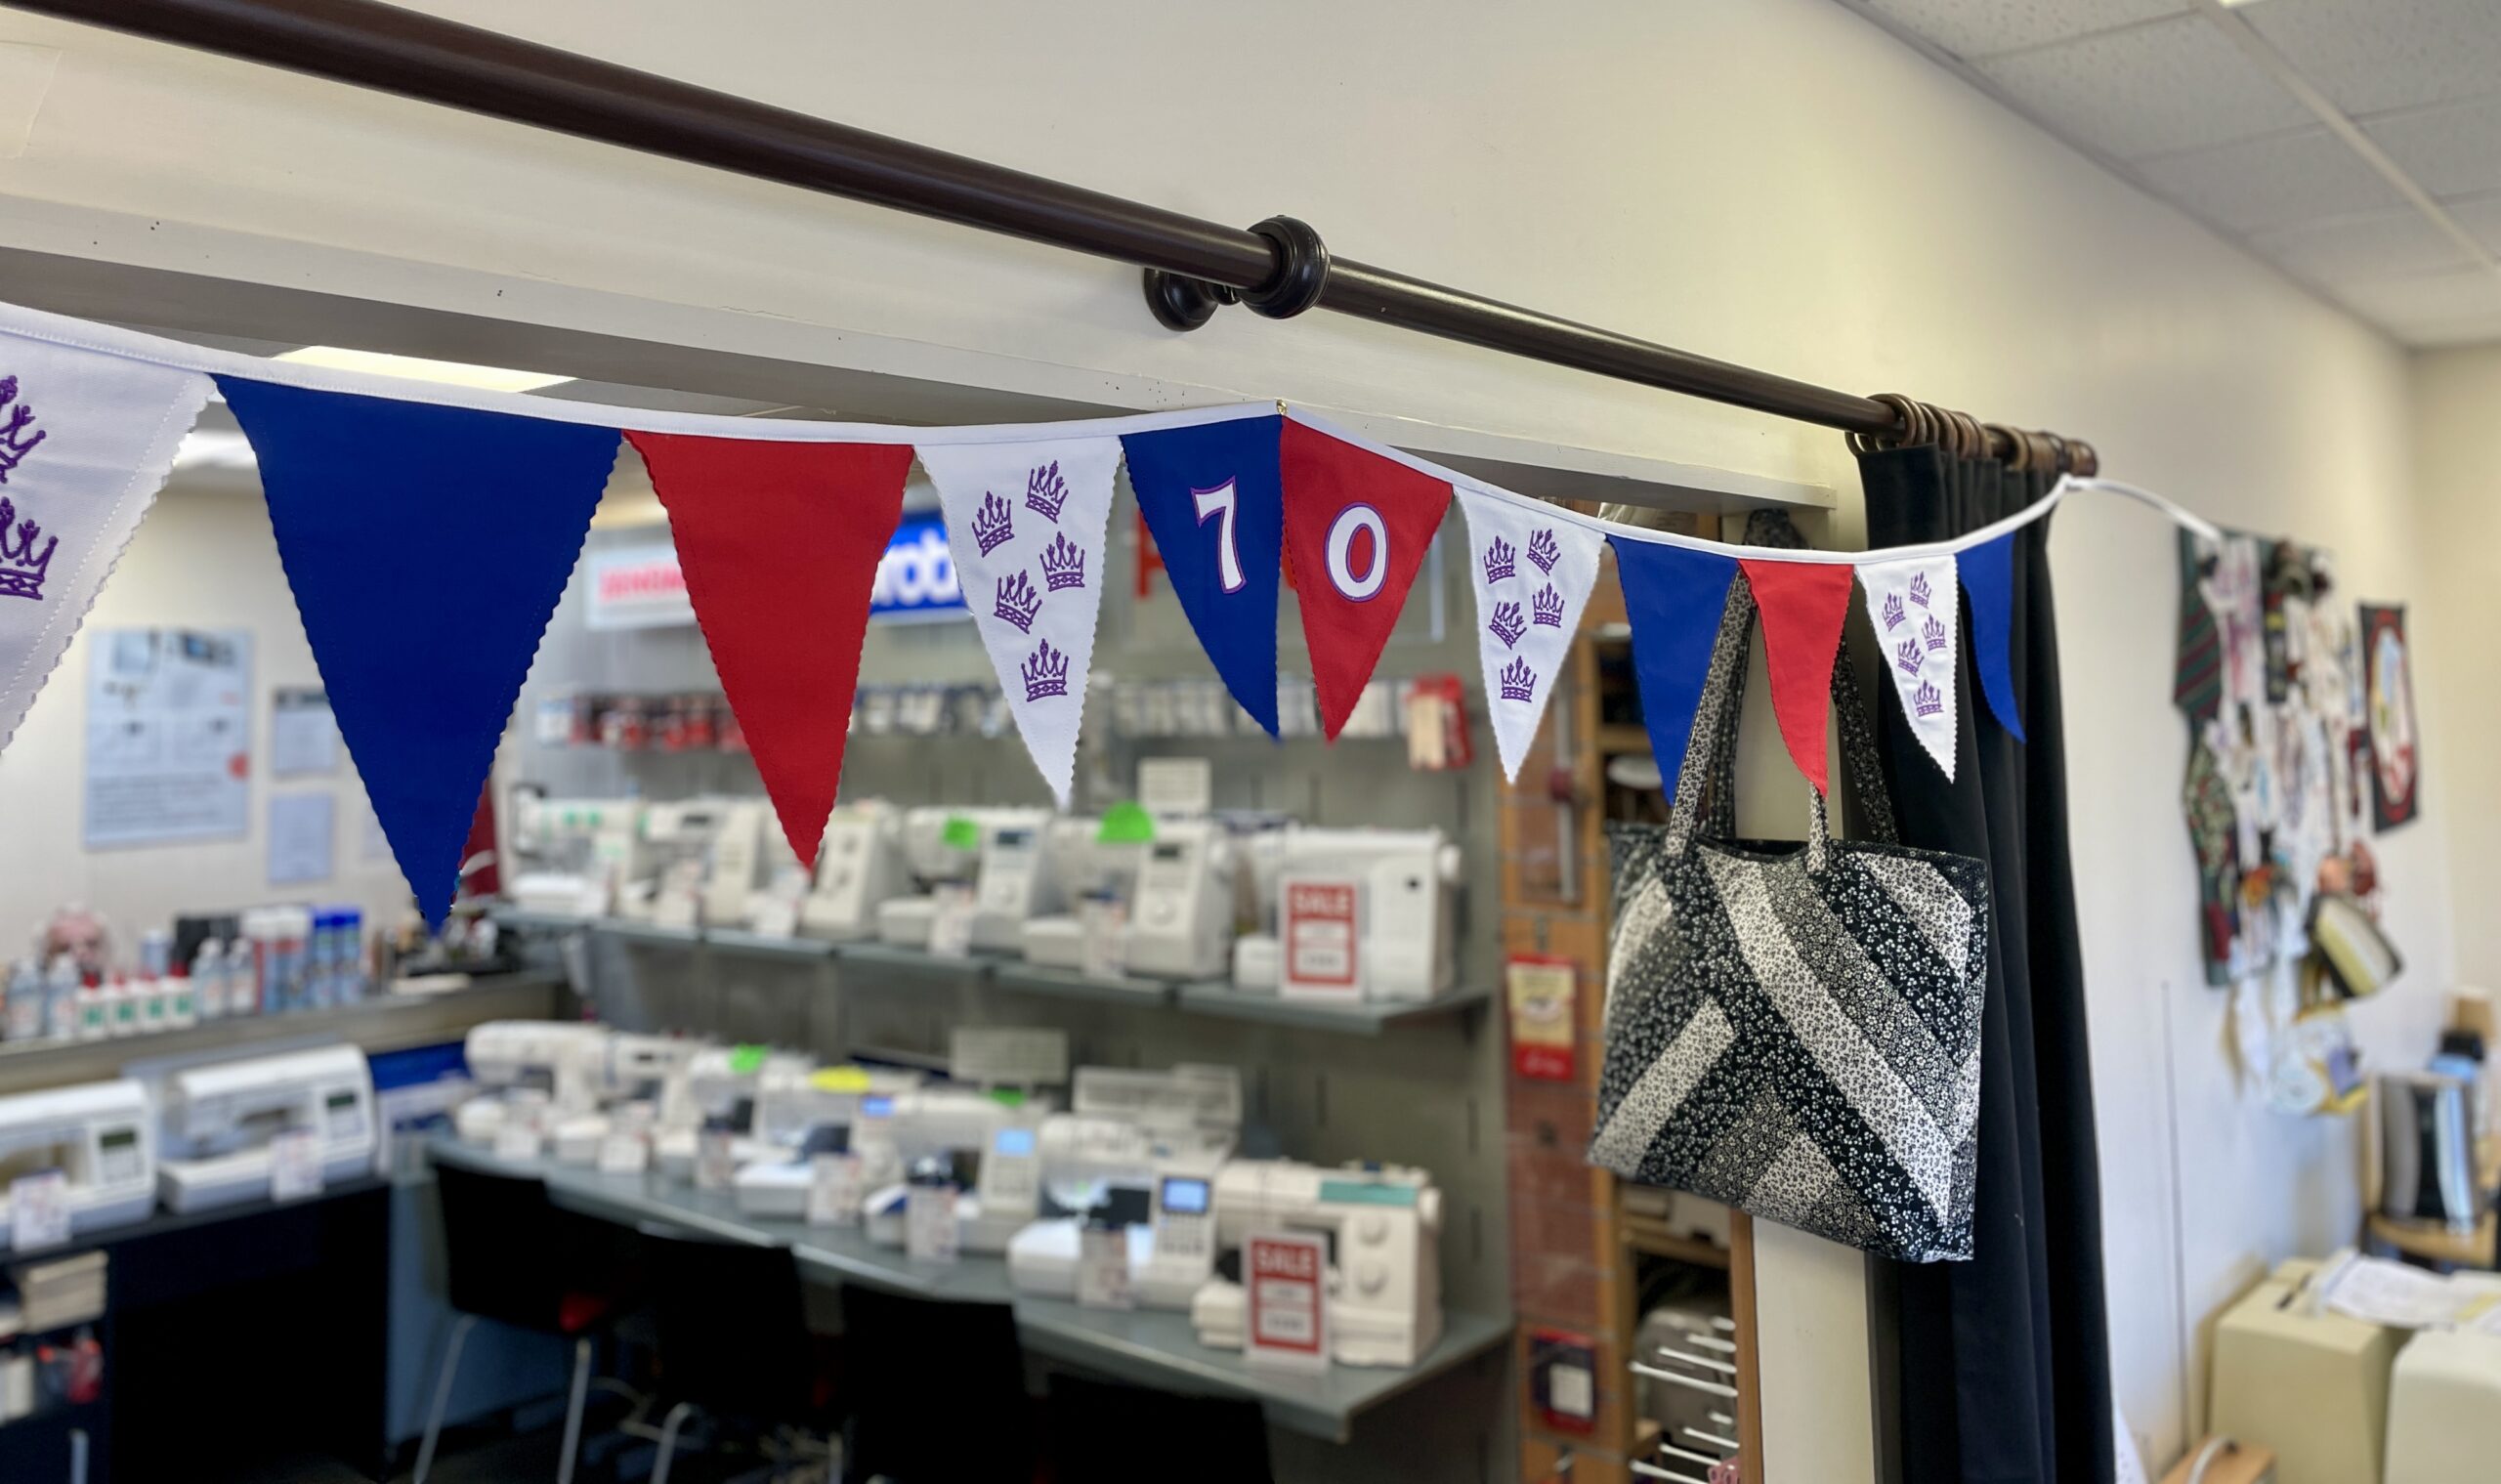
This is a guide on how to make this easy bunting which can be adapted for any theme or event. I used the Bernina 790 Plus e to do the embroidery and stitch the pieces together but any sewing and embroidery machine will do the job! You could also do plain red white and blue bunting if you don’t have an embroidery machine to decorate the triangles.

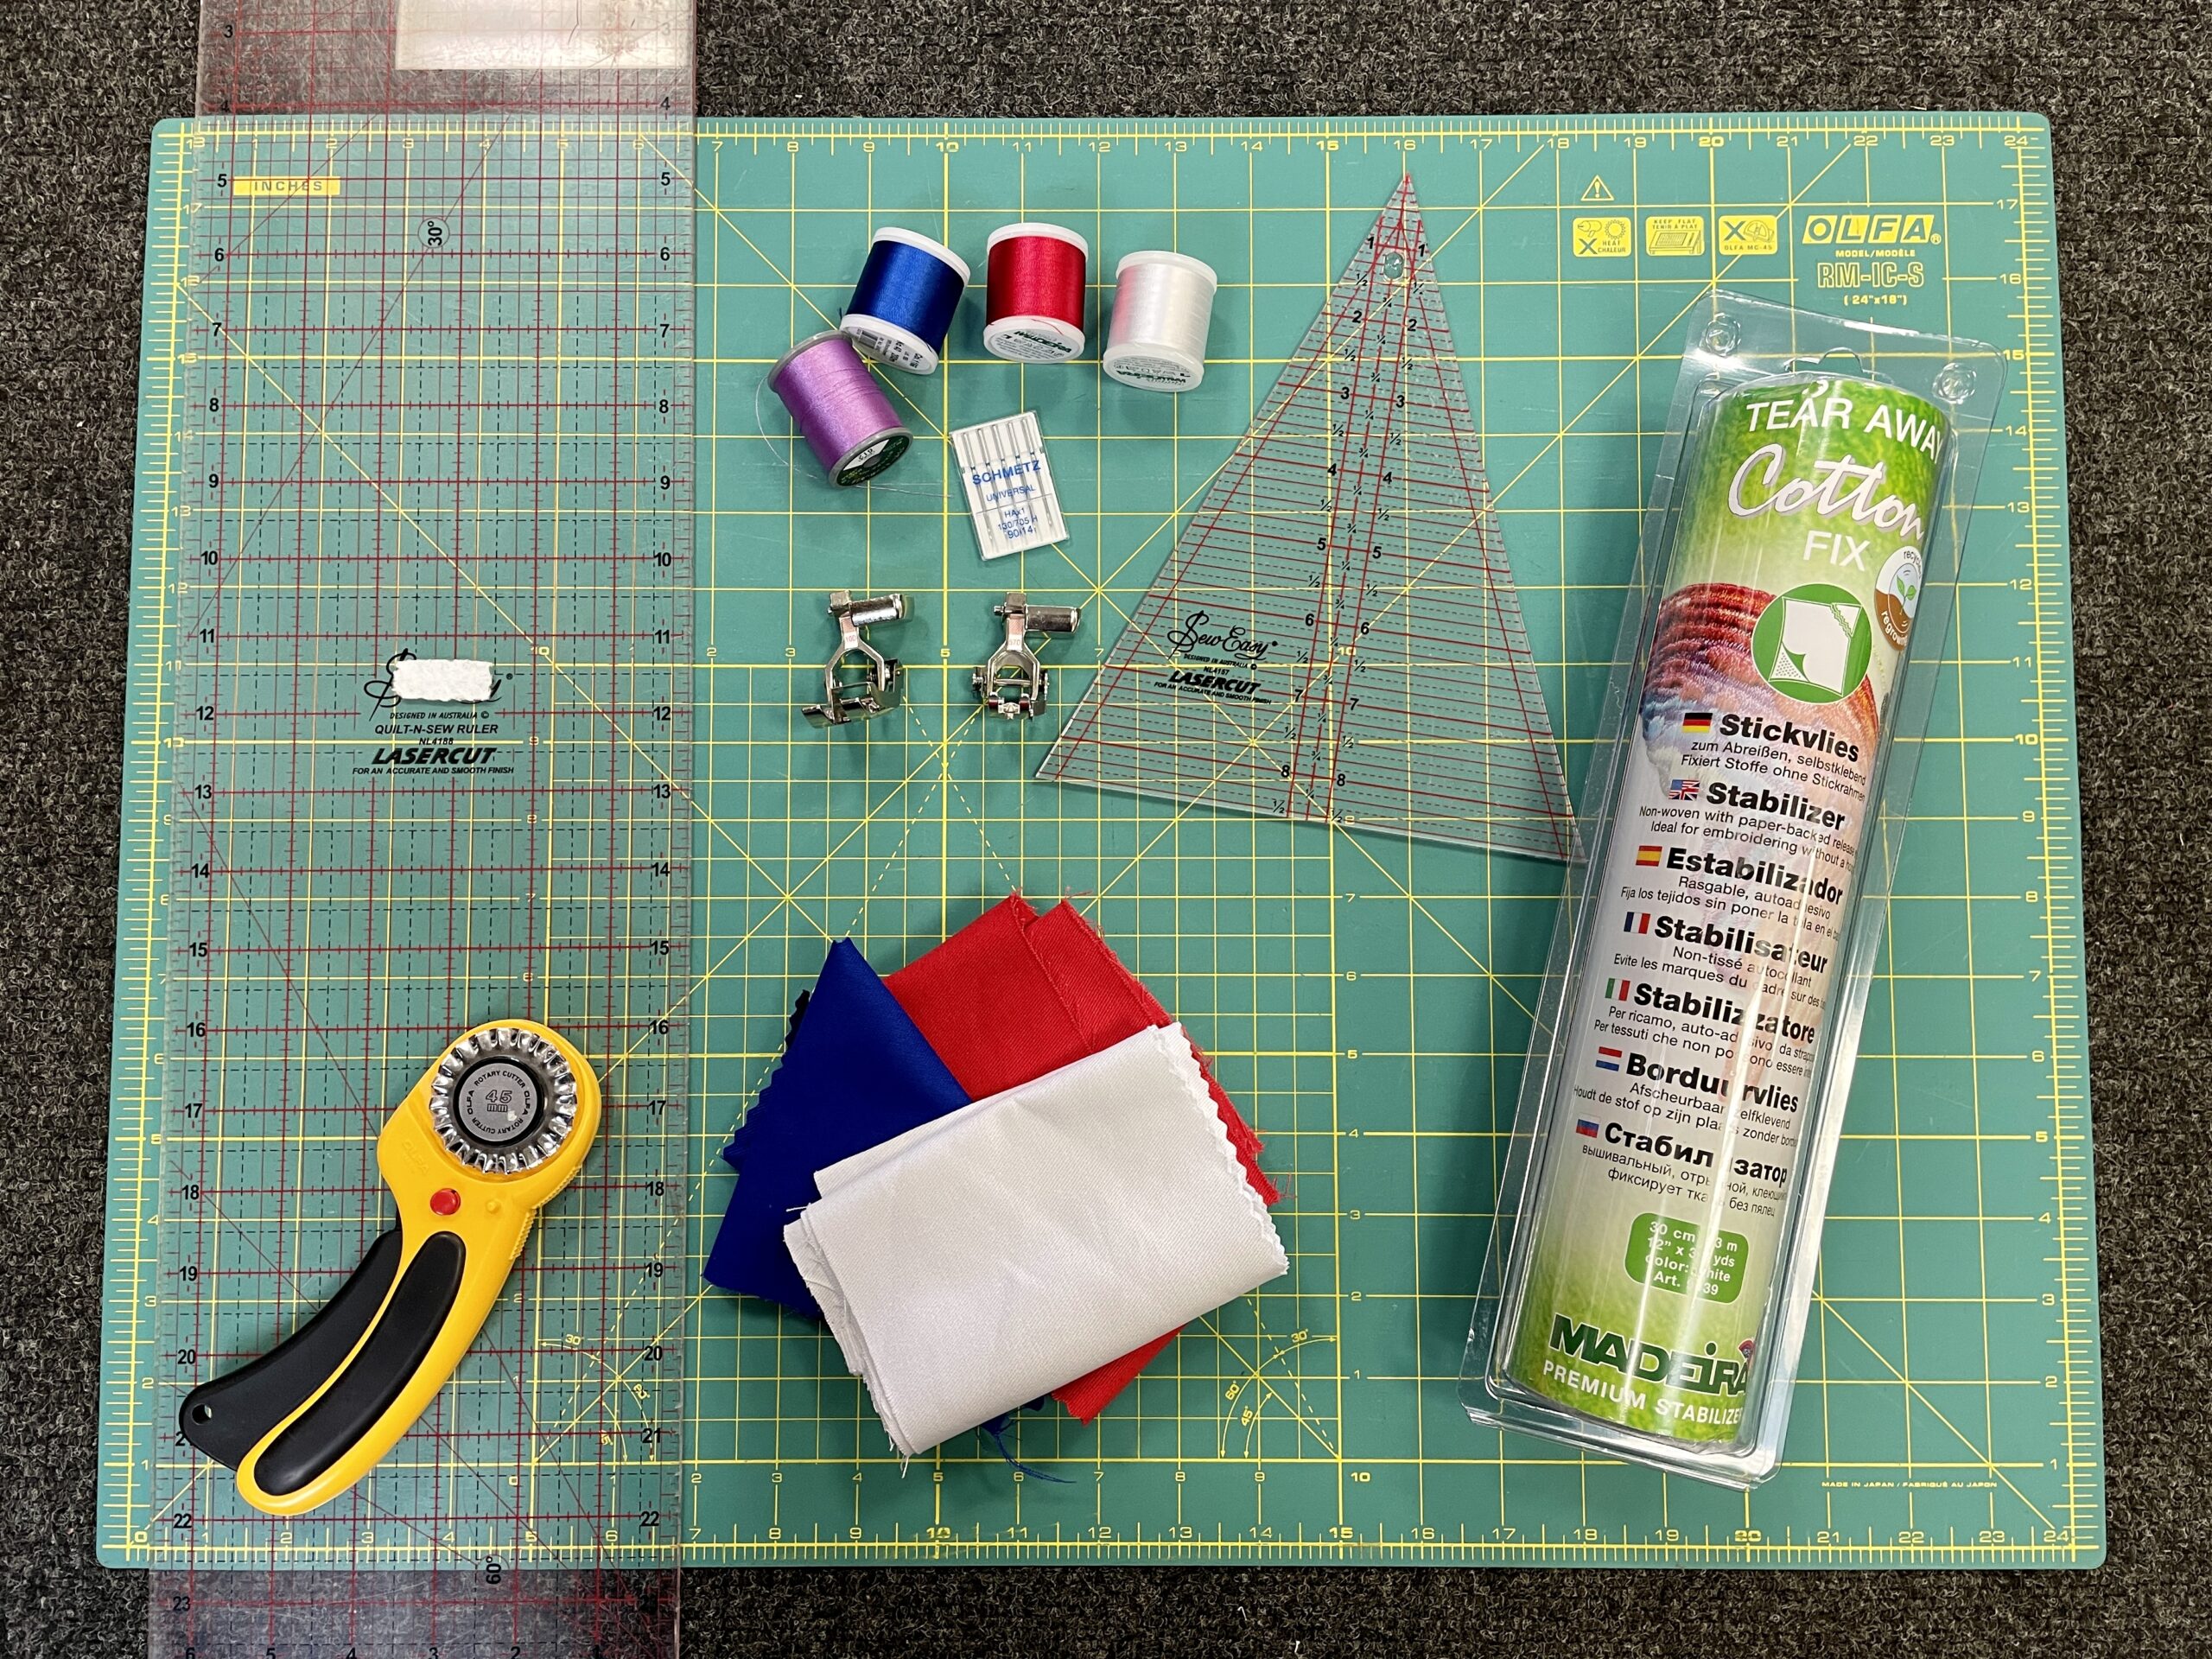
Everything you will need:

  • Red, white and blue fabric
  • Threads (red, white, blue, purple)
  • Rotary cutter, cutting mat and ruler 
  • Pinking Blade for rotary cutter
  • Sew Easy Lasercut Triangle ruler – 8 1/2” x 7”
  • Crown design (or something similar to fit the theme) – I used a crown design from the 790 and added several to create a repeated pattern, the seven and zero appliqué embroidery designs I purchased online 
  • Stabilisers – Cotton Soft
  • 1/4” presser foot 
  • Edge stitch foot 

Materials for the project
  1. Stitch all embroideries onto fabric – I used purple embroidery thread and stitched the crowns onto white fabric & the seven and zero in the hoop appliqués onto blue and red fabric, using white fabric for the numbers
  2. Cut out 8 triangles in each colour fabric – Using the triangle ruler with the pinking blade in the rotary cutter to avoid fraying
  3. Put two triangles together and stitch down both sides using 1/4” presser foot – I put the same colour front and back
  4. Cut a strip of binding 1 3/4” wide – the length of your binding plus enough to make a tie each end
  5. Lay your binding strip with the right side up and place the back of your bunting along the right edge of the binding and then sew 1/4” seam to join the bunting together – Space each triangle out equally, I overlapped them slightly
  6. Fold the binding over the edge of the bunting and turn the raw edge to the inside
  7. Top stitch together using an edge stitch foot