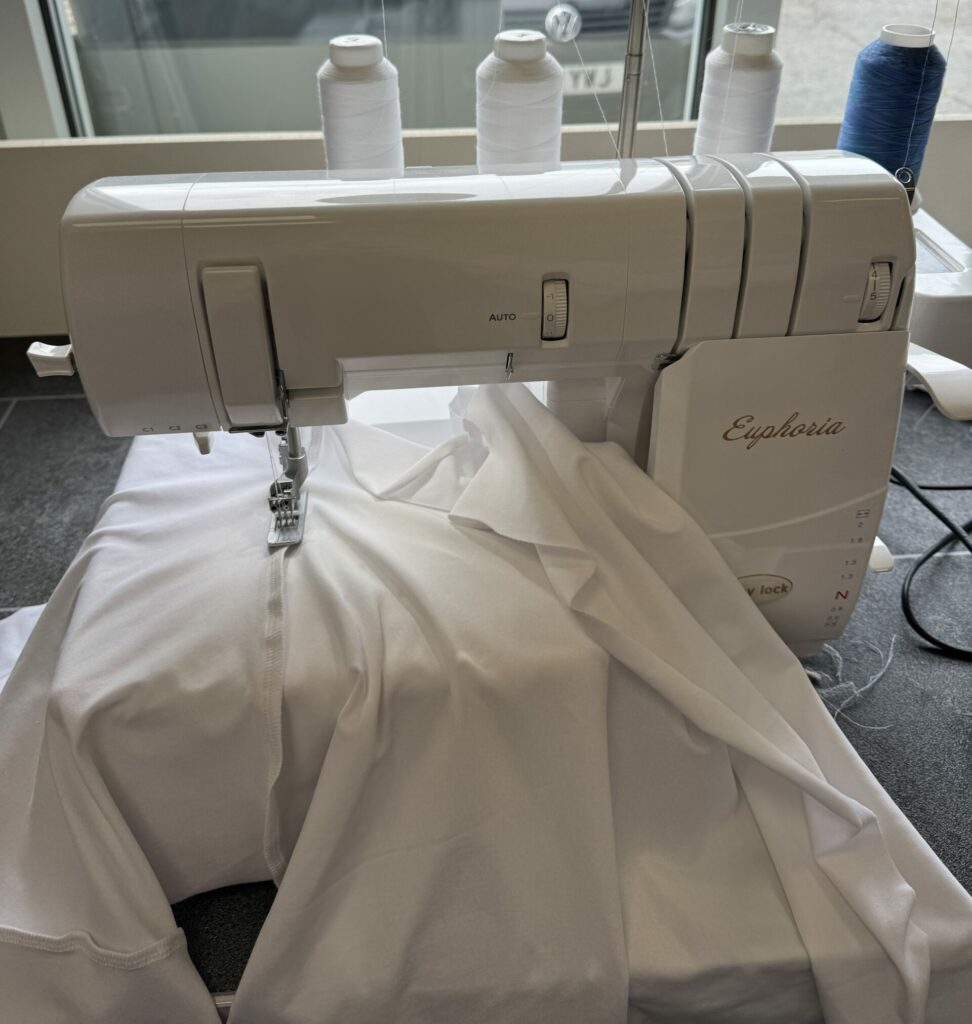
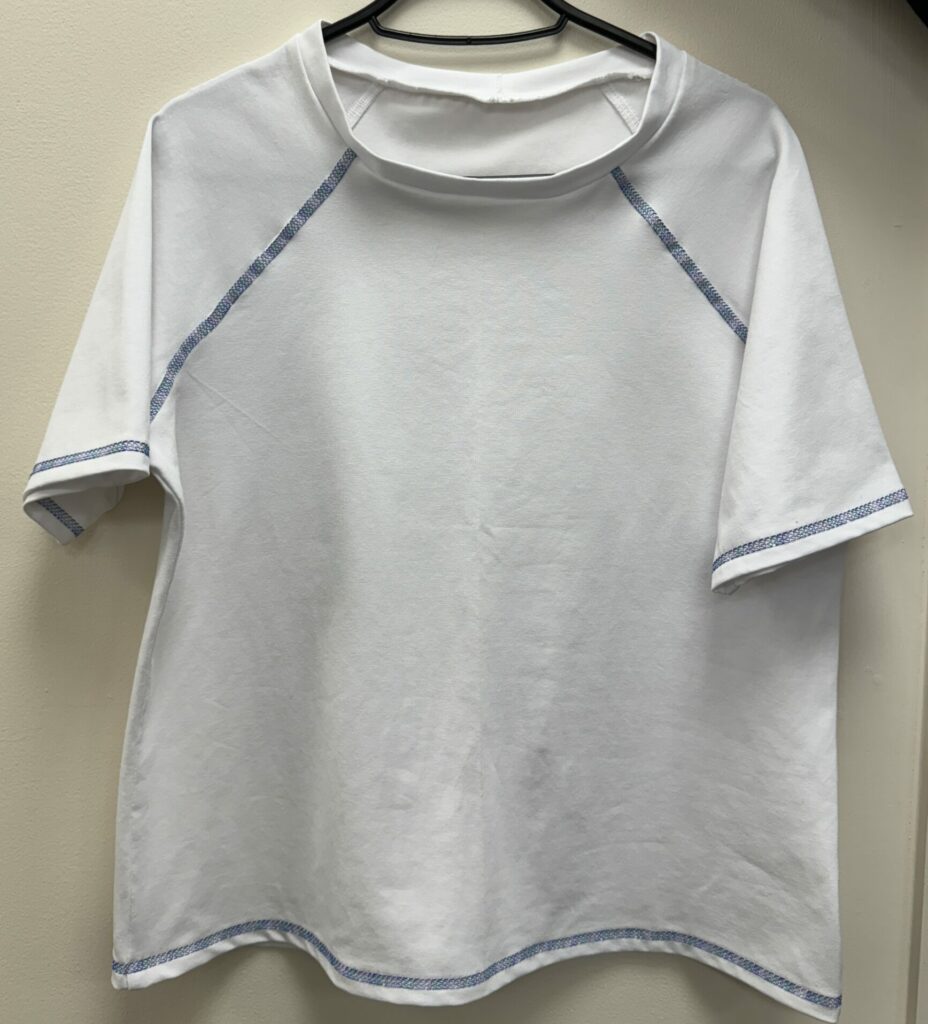
A Step-by-Step guide showing how to sew a Raglan made to measure T-shirt on an overlocker and coverstitch machine. Here we have used the Baby lock Acclaim overlocker and Baby lock Euphoria coverstitch machine. Sewing jersey fabric can be a challenge but with the right machines it is definitely a lot easier! Baby lock machines are quicker and easier to setup as they have needle threaders and air jet threading for the loopers.
Step 1. Measure & Trace the Pattern
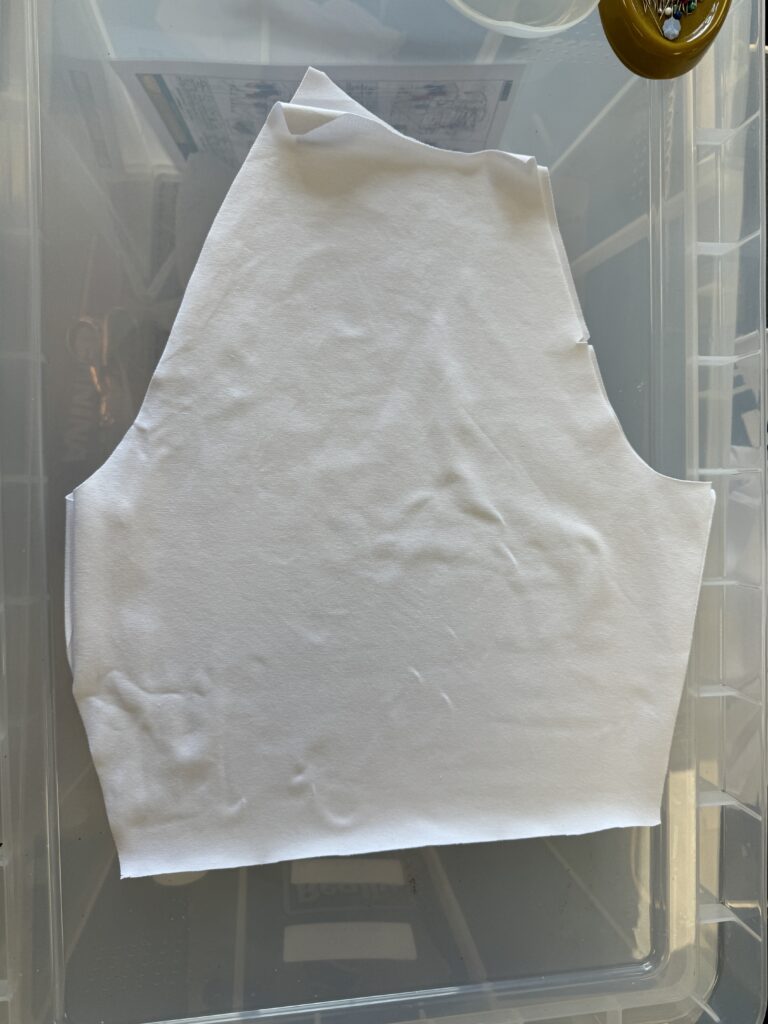
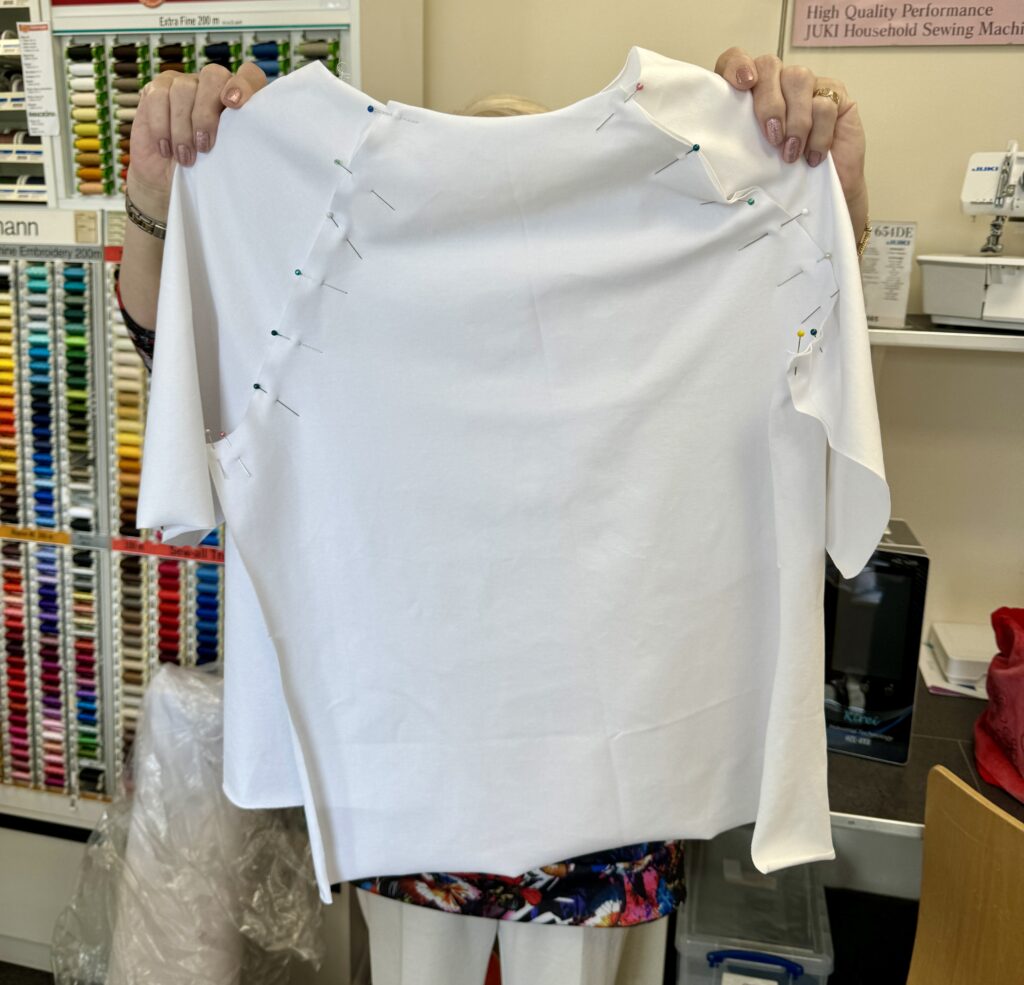
Once you have measured your bust and length trace out the pattern in your size. Cut out the pattern using a Jersey fabric in a colour of your choice. Start by pinning the sleeves to the front of the T-shirt, right sides together.
Sleeves
Tip: On the straight of the grain the edges of the jersey fabric will curl to the right side.
Step 2. Sew the Sleeves
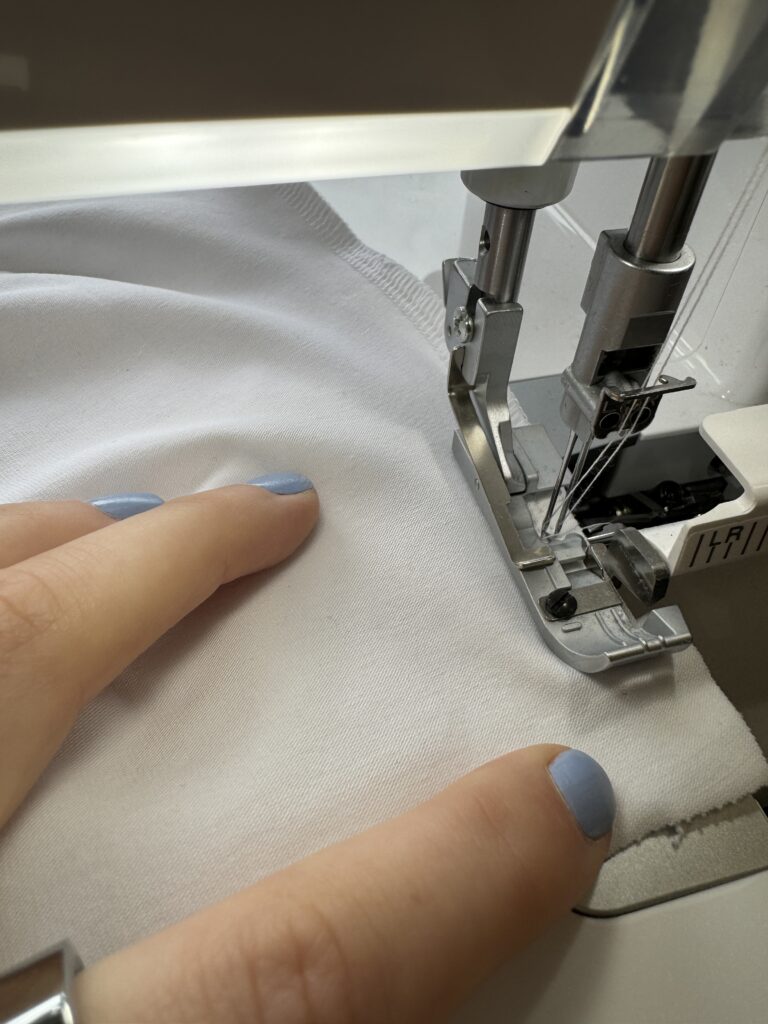
Sew the sleeves to the front piece of the garment on the overlocker using a 4-thread safety stitch, in the same colour thread as your fabric.
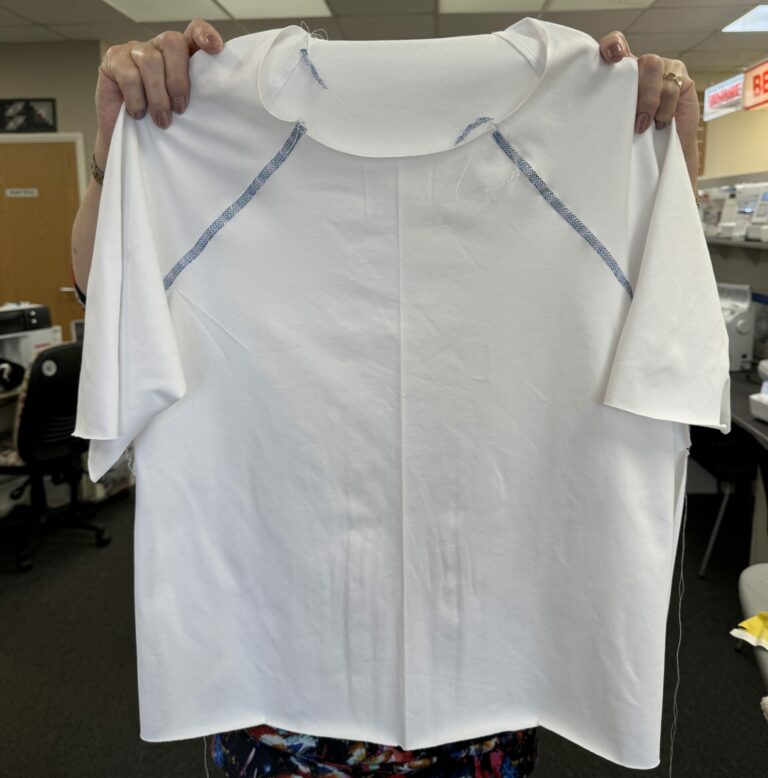
Step 3. Sew in the Back
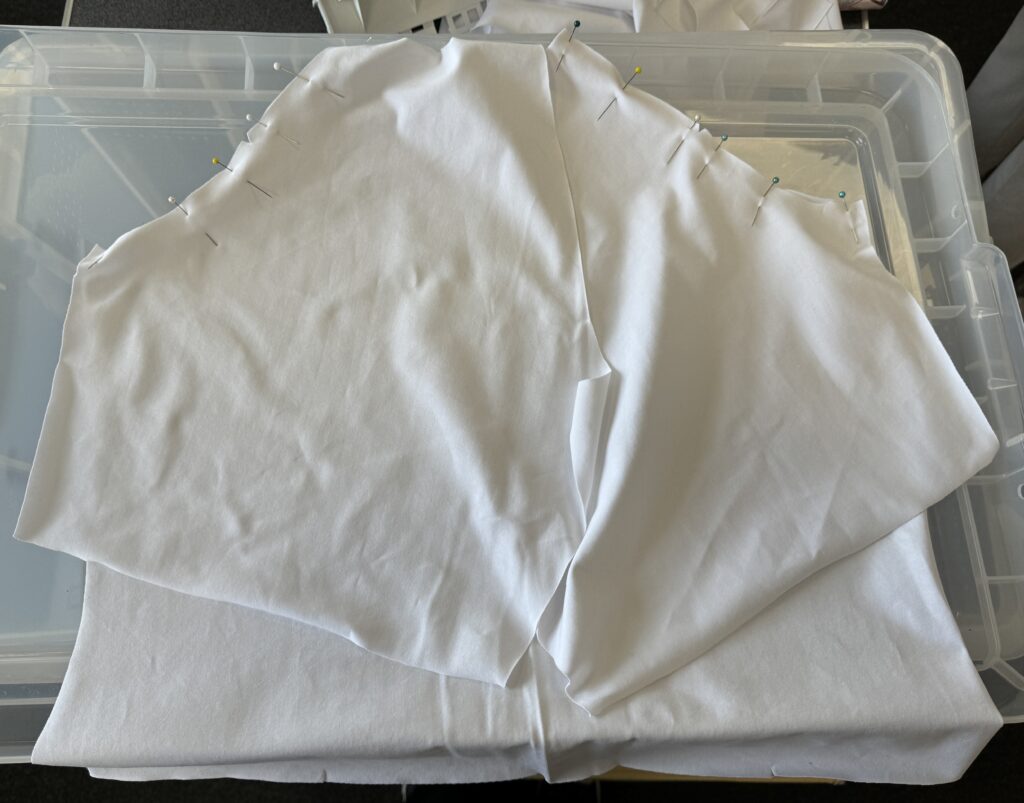
Pin the back piece (right sides together) to both sleeves and sew together with 4 thread.
Pin the Back piece to the sleeves
Sew the Back piece to the sleeves using 4 thread
Step 4. Playing with Decorative Topstitching
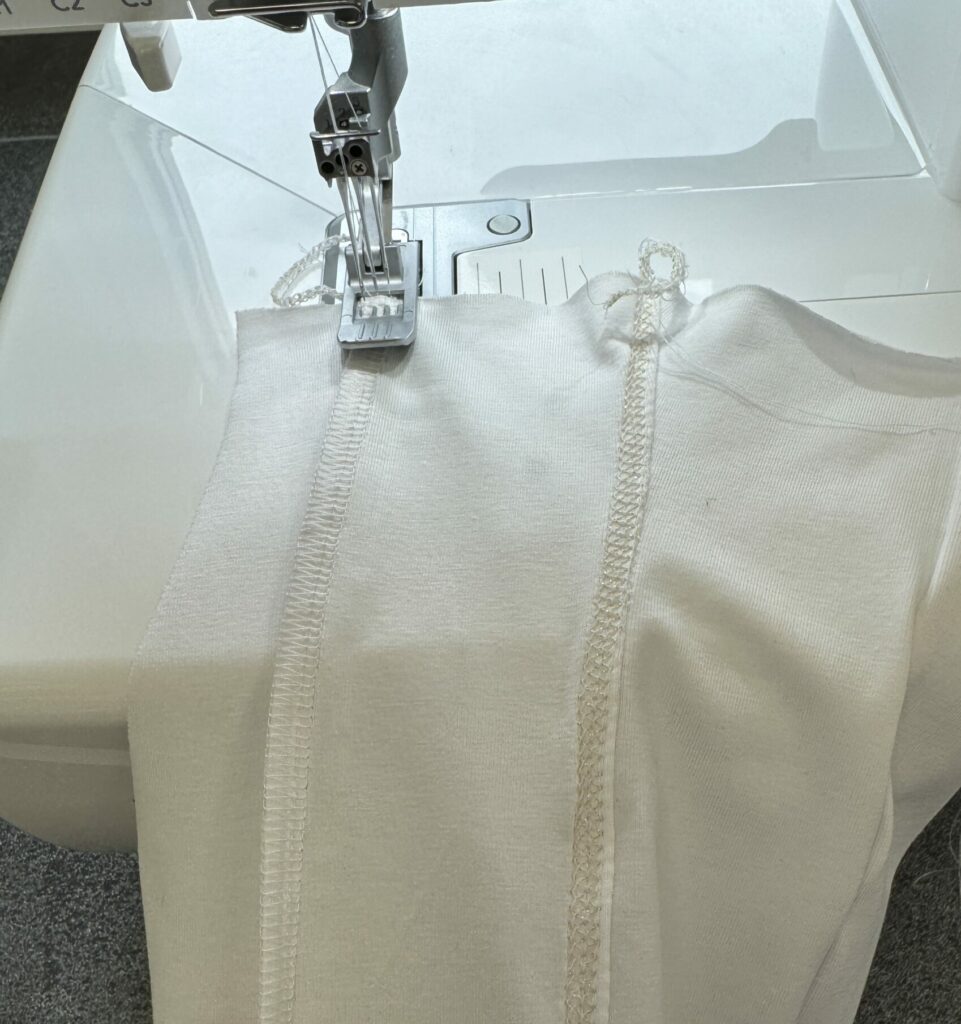
The Baby lock Euphoria has 140mm’s of space to the right of the needle which allows you to sew any of the cover stitch stitches on the middle of a garment. The 3-thread cover stitch with a variegated thread, such as Aeroflock, in the chain looper can create a really effective decorative stitch. Make sure to practice this first on a sample piece to see if the thread gives the right effect.
Stitch on the wrong side over the front and back seams on both sides. Line up the edge of the seam with the marks on the foot to be precise.
Experimenting with different coloured threads in the chain looper
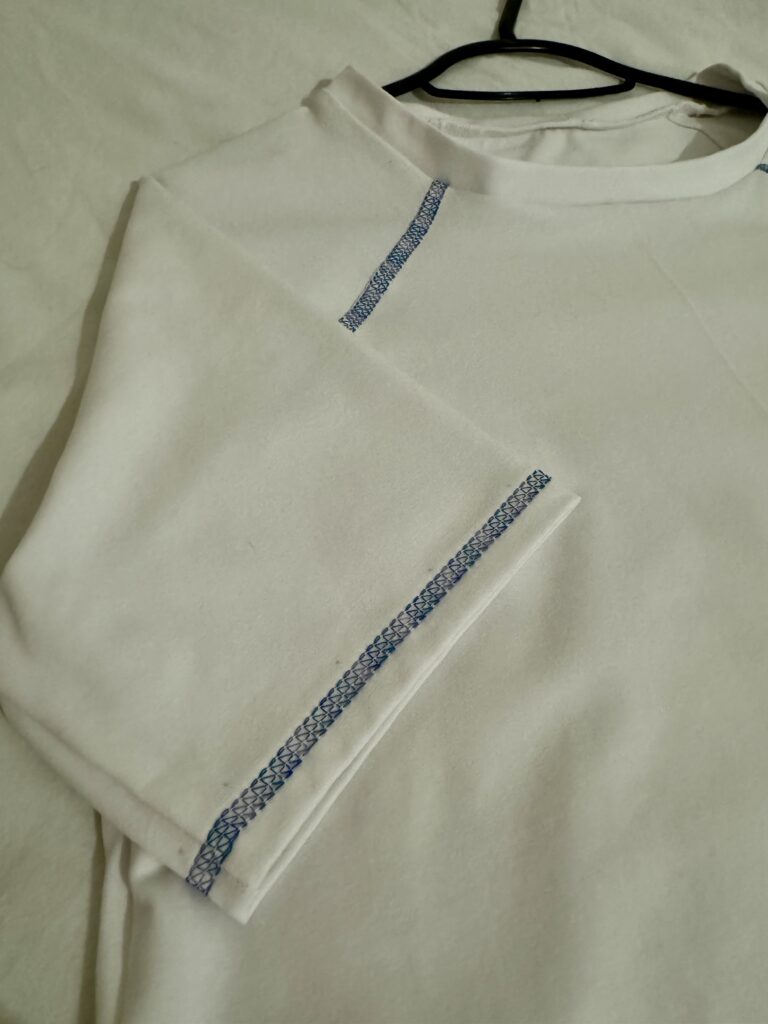
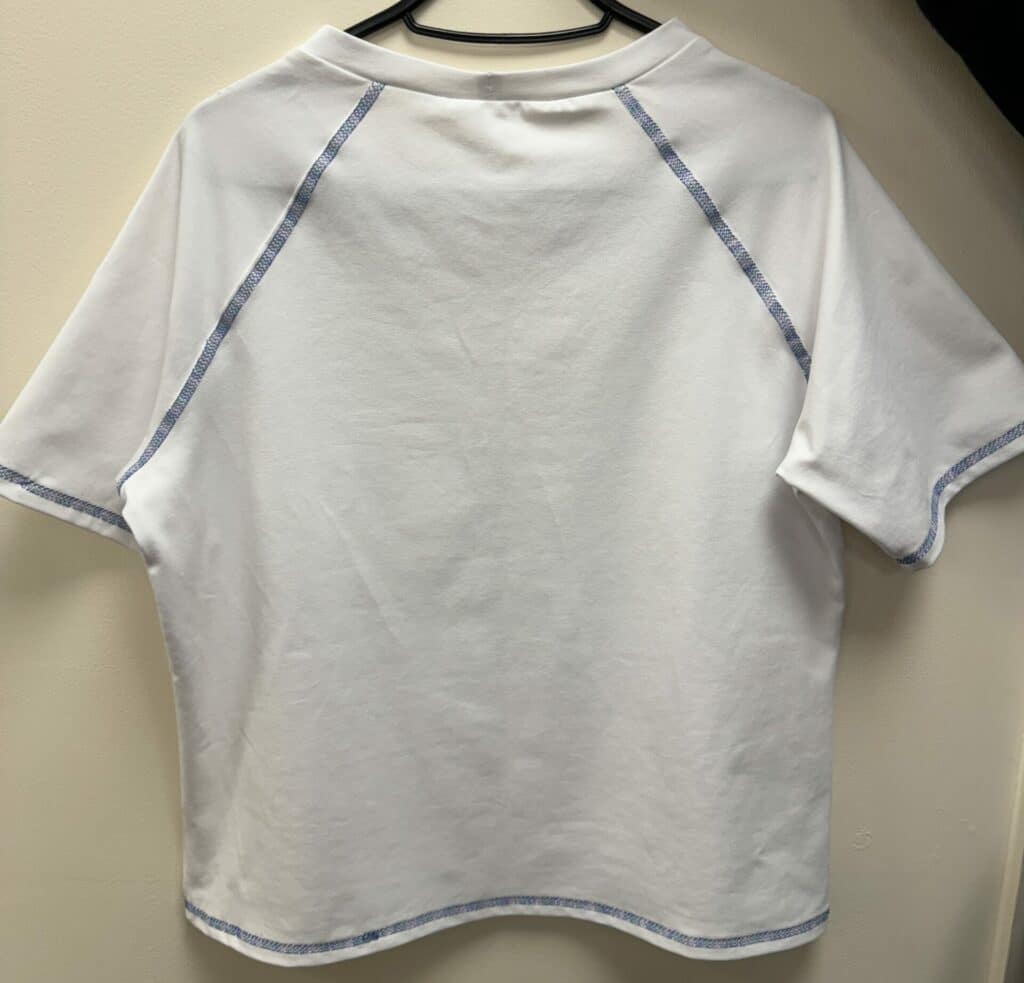
3-Thread Coverstitch with decorative thread in the chain looper
Decorative 3-Thread Cover stitch Results
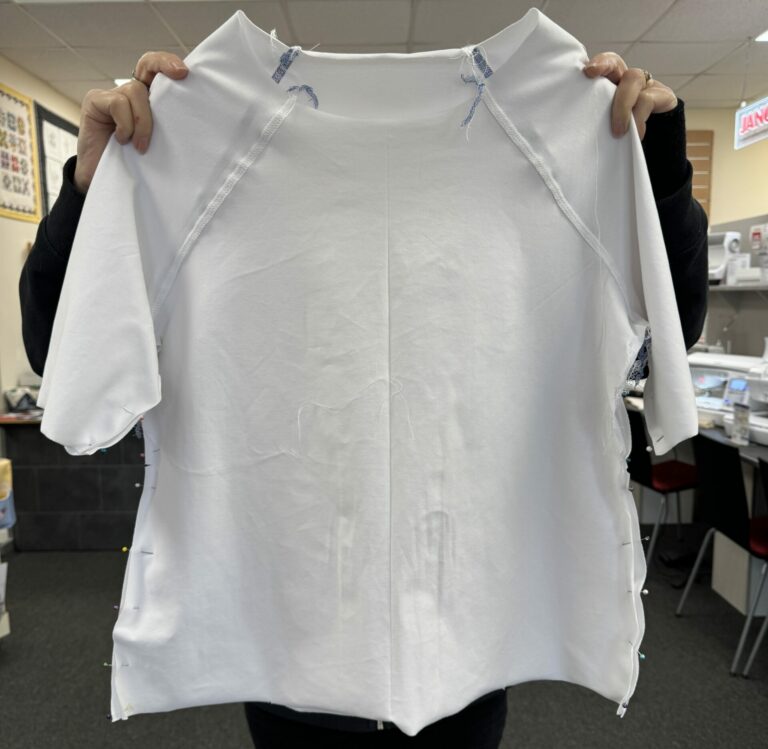
Step 5. Sew the Side Seams
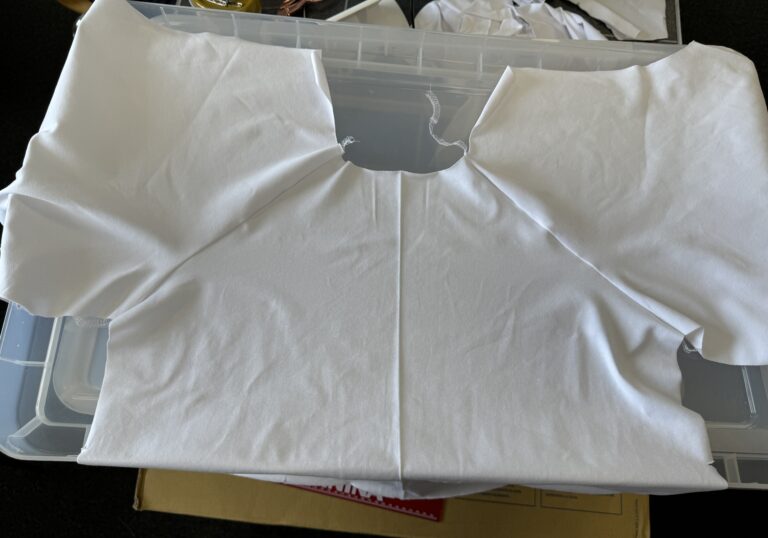
Turn the T-shirt inside out and pin the side seams together. On the overlocker sew them together using 4 thread.
Be careful when using pins on the overlocker!
Step 6. Neck Band
Sew the neck band together to create a circle, then fold the neck band in half (wrongs sides together). Put a pin in the seam on the neck band. Using the first pin, measure the neck band into quarters with pins. Do the same on the neck of the T-shirt.
Pin the neck band into the T-Shirt so that the pins line up on both pieces, with the seam on the neck band at the centre back of the neck.
Sew the neck band onto the garment so that the neck band is on top as you are sewing, using a 4-thread.
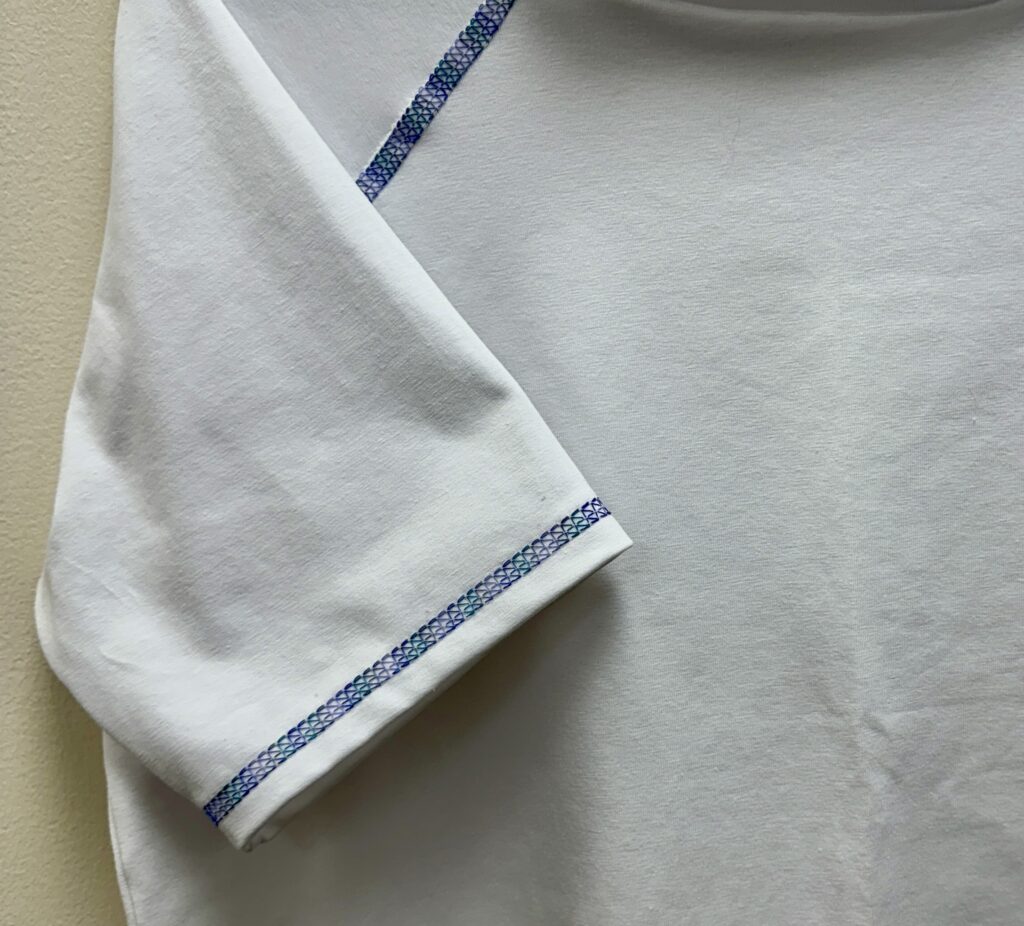
Step 7. Sewing the Hems
Lastly finish off the garment by sewing the hems on both sleeves and the bottom of the t-shirt. Turn up the hems to your desired hem allowance and pin it. Using the cover stitch machine, sew the hems. If you would like to continue on with the decorative 3-thread, sew the hem on the wrong side, so that the variegated thread shows on the right side.