Making Christmas Bunting on the Brother 870SE
With Christmas around the corner I decided to do some Christmas bunting for my next project…
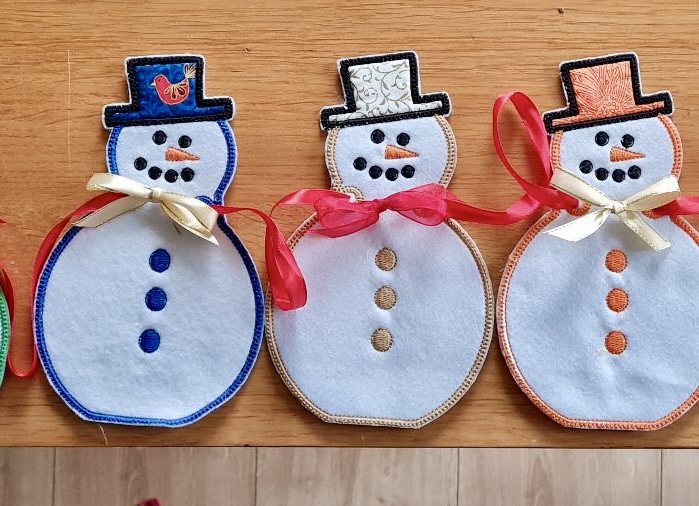
Having looked at some websites for designs I chose this snowman which had multiple size options as most designs only come in one size.
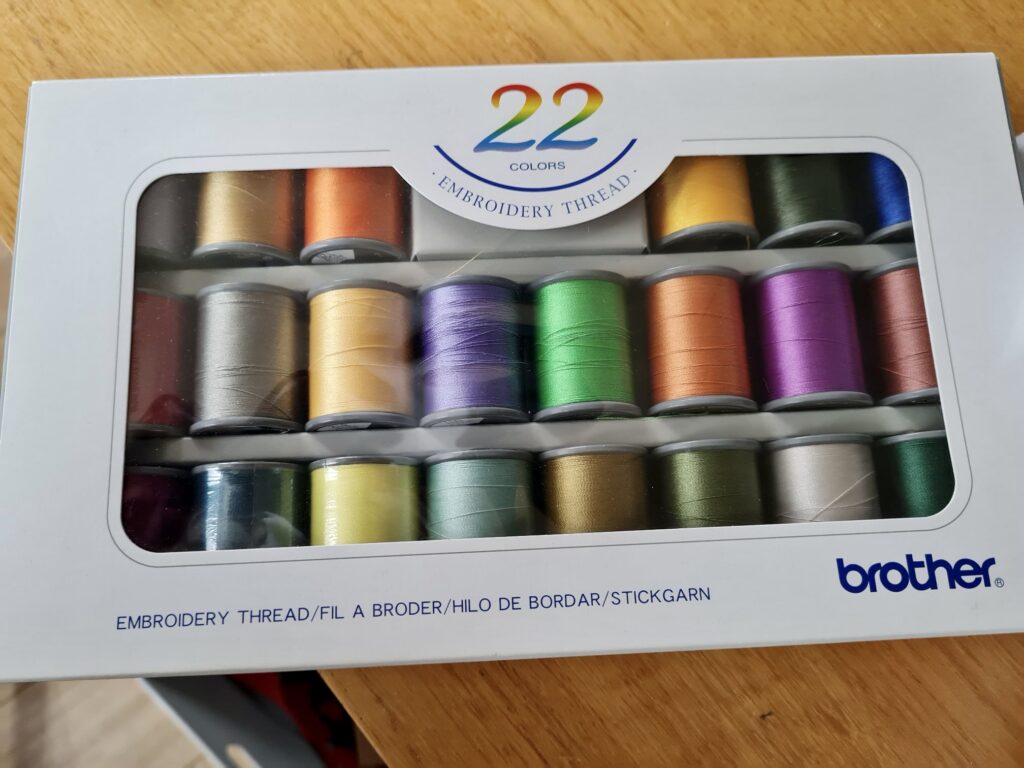
The materials needed for this project are; white felt, Madeira Tearaway cotton stabiliser, Brother embroidery threads, ribbon and I used some scraps of leftover fabrics for the hats on the snowmen.
There is no additional sewing required and the whole project was made using the Brother Innov-is 870SE embroidery machine.
The machine gives you on screen prompts to help you along the way which as a beginner I find useful.
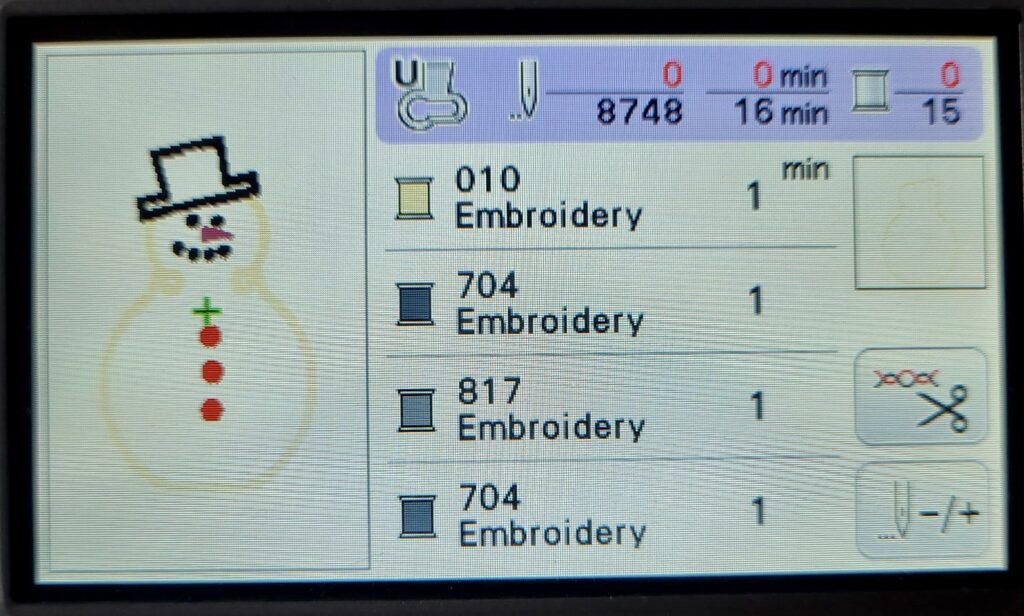
I chose the size required and it comes up on the screen with the number of cottons required, stitch count and time it takes to stitch out. I must admit that I jump steps if I am using the same colour for different sections rather than strictly following the guide. There is an option on the screen to change which step you want to complete next.
The machine will make sure the frame is big enough for the design and if not, it will tell you to change it.
Once it is all set up, put your fabric and stabiliser into the frame, lock the frame into place off we go!
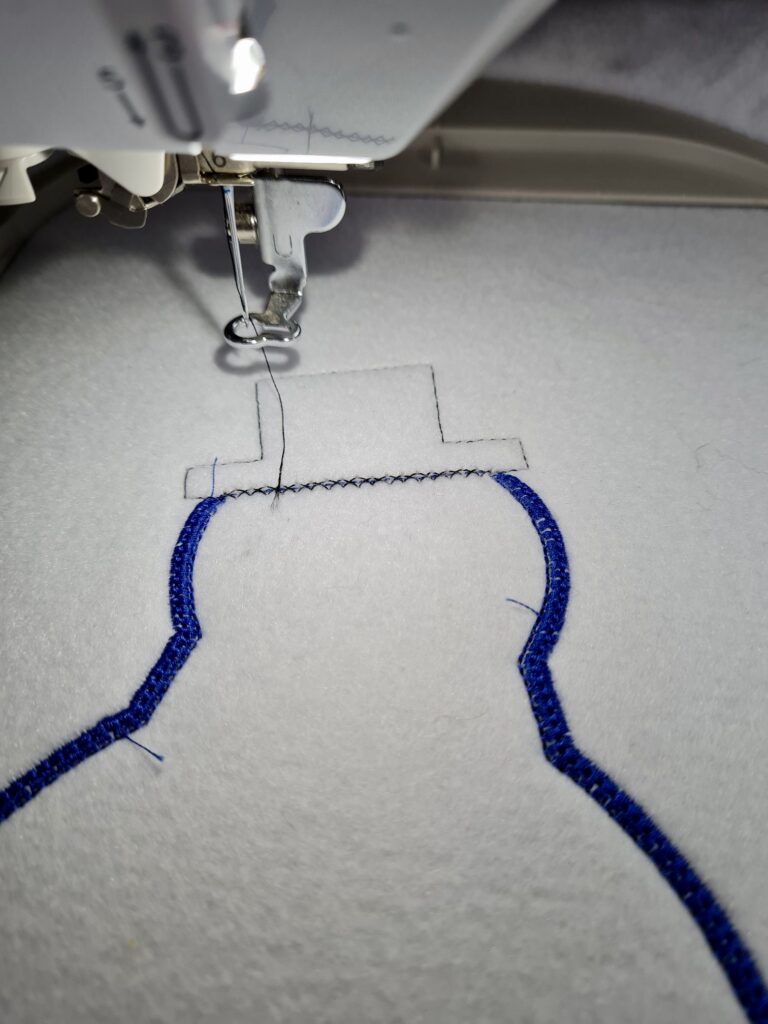
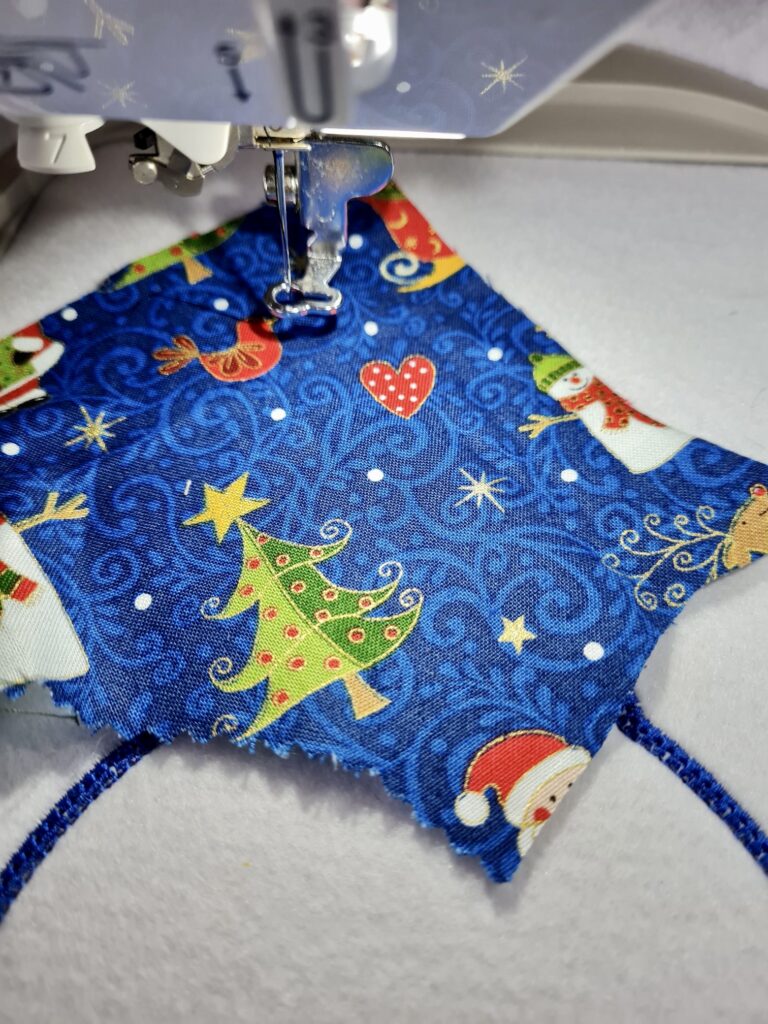
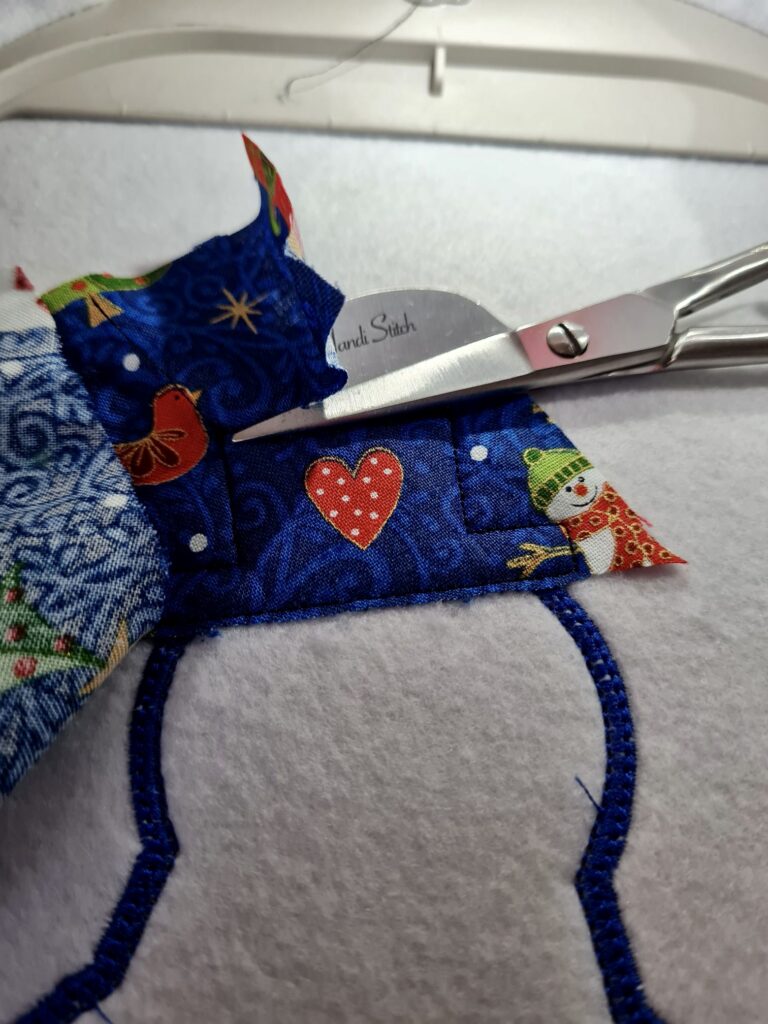
When the initial stitches were completed for the hat, I laid a piece of scrap fabric over the outline and went to the next step of securing it in place. I then removed the frame from the machine to cut away the excess fabric. At this point I jumped a few stages to complete the rest of the hat as I am using the same colour cotton as the base stitches…just remember where you were to go back to finish off the project. Initially when I first used additional fabrics for a project I had no idea what I was doing but Youtube and a friend helped me overcome any fears I had of trying this.
Remove the frame and carefully cut round the design and cut off any loose threads.
To finish off thread them all together with ribbon and add the bows and then you have you completed snowman bunting!

