
Threading a sewing machine is one of those things that feels fiddly the first few times, and then becomes second nature. If you are just getting started or you have just picked up a new machine, this guide will walk you through the whole process clearly and calmly.
Every machine is slightly different, but the steps below apply to the vast majority of modern sewing machines, whether you have a Brother, Janome, Bernina, Juki or Singer. Brother UK has a full library of machine manuals on their website.
What you will need
Before you start, grab your thread, make sure your machine is switched off (or at least the needle is in the up position), and check you have a bobbin loaded. We will cover bobbin winding separately below, but if yours is already wound and in place, you are ready to go.
Step 1: Raise the presser foot
This one gets forgotten more than you would think. Before threading, always lift your presser foot lever (it is usually at the back of the machine, on the right hand side). This releases the tension discs so the thread can seat properly between them. If you skip this step your tension will be off, and your stitches will look uneven or loopy.
Step 2: Place your thread spool
Pop your thread onto the spool pin at the top of the machine. Most machines have a horizontal or vertical spool pin. If yours is horizontal, make sure your spool cap is on to keep the thread from unravelling too quickly.
Step 3: Follow the threading path
This is where the machine guides you. Almost all modern machines have numbered guides or arrows printed or engraved right on the machine body. Follow them in order.
In general the path goes like this:
From the spool, guide the thread through the first thread guide at the top of the machine. Then bring it down, round the thread tension channel on the left, and back up through the take-up lever (the hook shaped arm that moves up and down when the machine runs). From there, bring it back down through any remaining guides and into the needle.
If in doubt, your machine manual will have a diagram of the exact path for your model. You can also find it on a sticker inside the accessory compartment on most Brother and Janome machines.
Step 4: Thread the needle
Most machines thread from front to back, though some thread left to right. Thread the needle last, leaving a tail of around 10 to 15 centimetres hanging free.
If your machine has an automatic needle threader, this is the moment to use it. Lower the lever gently, make sure the thread is positioned in the small hook correctly, and release slowly. It takes a bit of practice but once you have got it, it is a time saver.
Step 5: Wind and insert your bobbin
If your bobbin is not yet wound, most machines have a built in bobbin winder at the top. Place your empty bobbin on the winder pin, hook the thread through the bobbin tensioner, and flick the bobbin pin across to the winding position. Hold the thread end and run the machine at a slow speed until the bobbin is full. Trim the thread and flick the pin back.
To insert the bobbin, open the front cover or slide plate (depending on your machine type) and drop or slide the bobbin in. Most modern machines use a drop in top loading system, where the bobbin sits flat in a clear cover. Thread the bobbin according to the diagram on the cover, making sure it is feeding in the right direction.
Step 6: Bring up the bobbin thread
Lower the needle into the bobbin area using the handwheel (turn it toward you), then raise it back up. As it comes up it will catch the bobbin thread and pull a loop of it through. Pull that loop out gently and you will have both threads coming out from under the presser foot together.
Pull both threads back and under the foot, and you are ready to sew.
A quick note on tension
If your stitches look loopy on the top or bottom of the fabric after threading, nine times out of ten the machine has not been threaded correctly rather than the tension being wrong. Go back to step one, re-thread from scratch with the presser foot raised, and nine times out of ten that fixes it.
Still not sure? Come in and we will show you
If your machine is threading correctly but still not stitching well, it might be due for a service. Find out more about our sewing machine servicing in King’s Lynn.
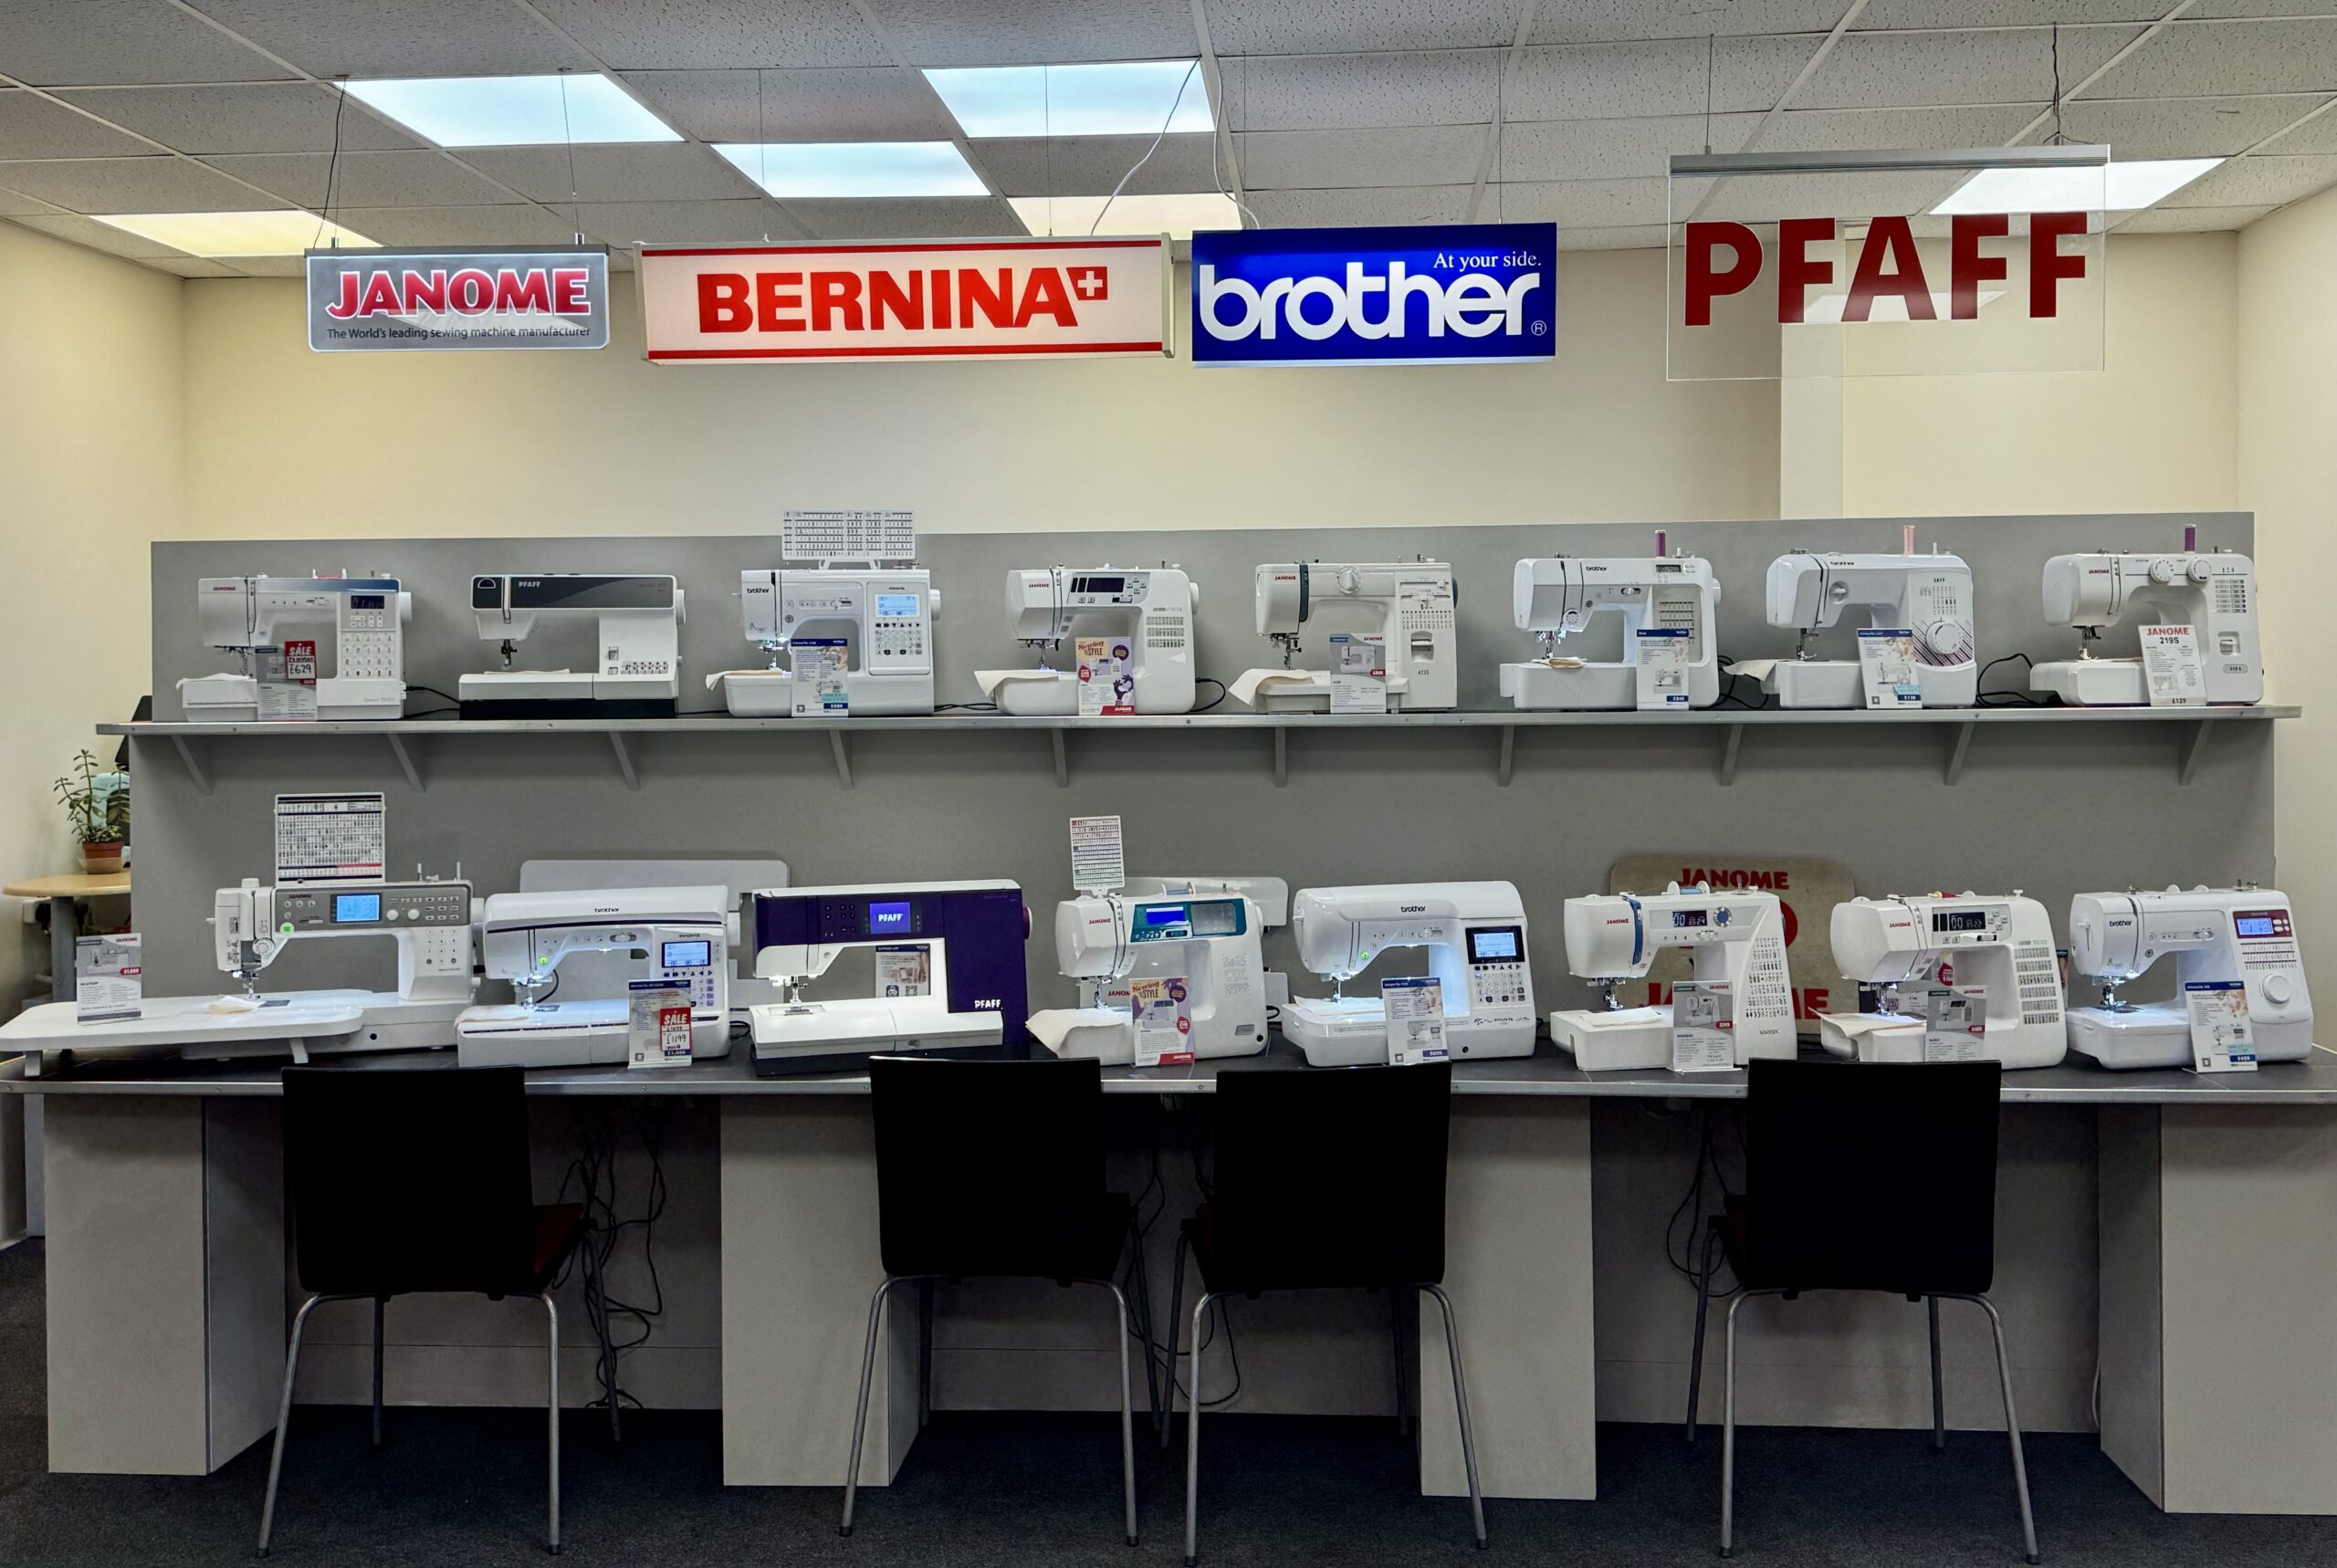
Or if you are thinking about your first machine and want to try before you buy, we have over 50 machines on our showroom floor and our team can walk you through everything from threading to tension before you commit to anything.